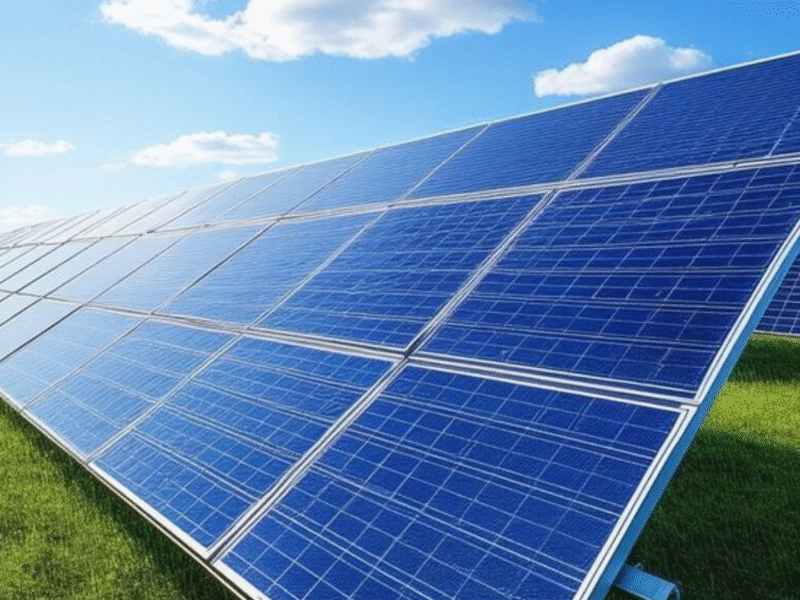
The world is rapidly shifting towards sustainable energy, and solar power is at the forefront of this revolution. Whether you’re a homeowner looking to reduce your electricity bills or a business owner aiming for energy independence, understanding the process of a solar power plant installation is crucial. This comprehensive guide will walk you through every stage, from the initial planning and site assessment to the final commissioning of your solar system.
Step 1: Solar Project Planning & Feasibility Study
Before you even think about buying a single solar panel, proper planning is key to a successful solar power plant installation.
Solar Power Plant Installation: How to Calculate Your Energy Needs
The first step is to determine how much electricity you consume. Review your past electricity bills for at least 6 to 12 months to understand your average daily, monthly, and yearly consumption in kilowatt-hours (kWh). This will help you size your system correctly to meet your needs and avoid over or under-investing.
Site Assessment and Analysis
A professional site survey is critical. Key factors to consider include:
- Sunlight Exposure: The site must receive ample, unobstructed sunlight throughout the day. Check for potential shadows from trees, buildings, or other structures.
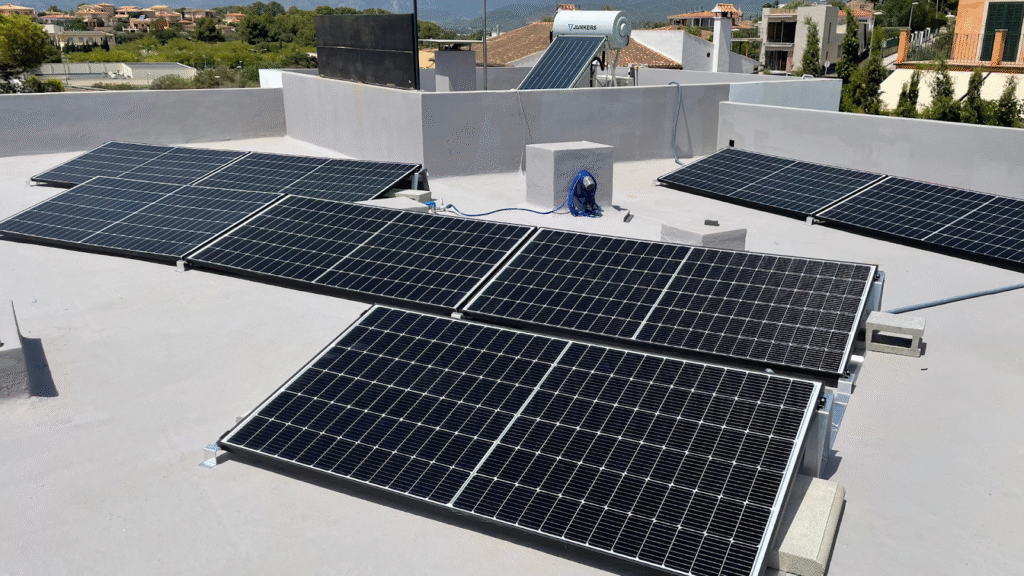
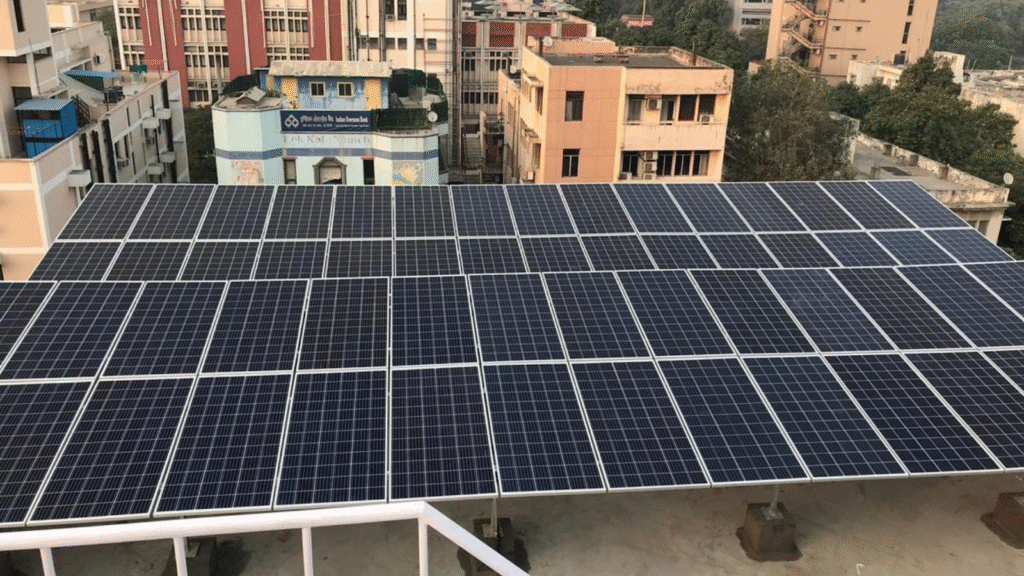
- Roof or Ground Condition: If you’re installing on a rooftop, an engineer will need to assess its structural integrity and material. For ground-mounted systems, the land’s topography and soil type will be evaluated.
- Orientation and Tilt: For optimal energy production, solar panels in the Northern Hemisphere should face south, and in the Southern Hemisphere, they should face north. The tilt angle should be carefully calculated to maximize sun exposure.
Budgeting and Financing
Calculate the total cost, which includes not just the solar panels, but also the inverters, mounting structures, wiring, and labor. Research available government subsidies, tax credits, and financing options, which can significantly reduce the overall cost of your solar power plant installation.
Step 2: System Design and Permitting
Once the initial planning is complete, it’s time to design the system and get the necessary permissions.
Solar Power Plant System Design: On-Grid vs Off-Grid vs Hybrid
- On-Grid (Grid-Tied) System: This is the most common type. It’s connected to the local utility grid, allowing you to draw power when your system isn’t producing enough and sell excess power back to the grid (through a process called net metering).
- Off-Grid System: This system is independent of the utility grid and requires batteries to store excess energy for use at night or during cloudy days. It’s ideal for remote locations with no grid access.
- Hybrid System: A combination of both on-grid and off-grid systems, offering the benefits of both—grid connectivity and energy storage.
Selecting Components
- Solar Panels (PV Modules): Choose panels with high efficiency and a good warranty. Consider factors like monocrystalline vs. polycrystalline technology.
- Inverter: This is the brain of the system, converting the DC (Direct Current) electricity from the panels into usable AC (Alternating Current) electricity for your home or business. Options include string inverters, micro-inverters, and power optimizers.
- Mounting Structure: The structure must be durable and capable of withstanding local weather conditions, including strong winds and heavy rainfall.
Permits and Approvals for Solar Power Plant Installation
This is a critical, often complex, step. You’ll need to secure various permits and approvals from local authorities and utility companies. This may include building permits, electrical permits, and a grid interconnection agreement. A professional installer can handle this paperwork, ensuring compliance with all local regulations.
Step 3: Solar Power Plant Installation and Commissioning
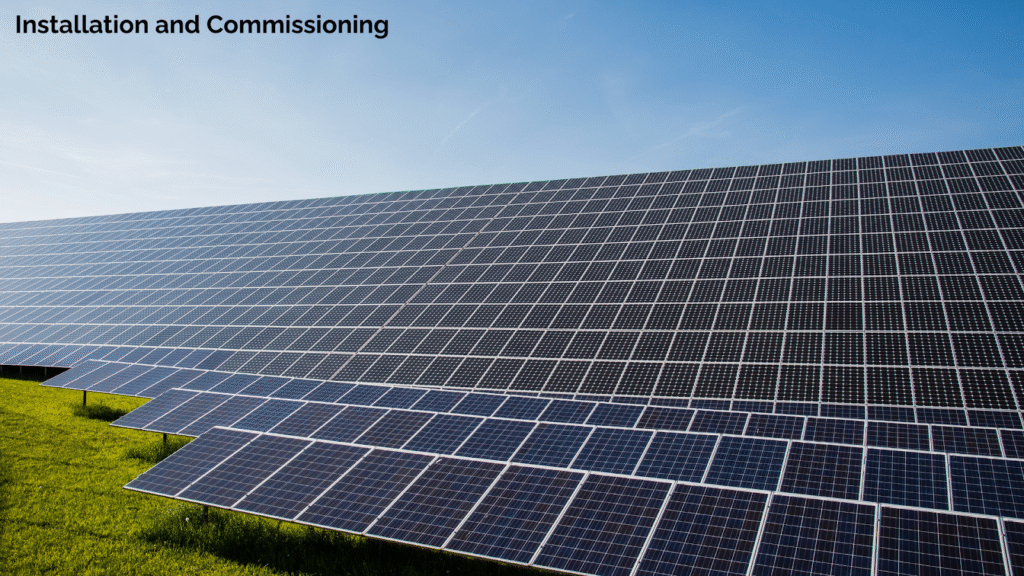
This is the physical part of the solar power plant installation. While some components can be DIY-friendly, it’s highly recommended to use certified professionals to ensure safety and system efficiency.
Installing the Mounting Structure
The foundation of your solar array. The mounting structure is securely attached to the roof or ground, ensuring a stable and safe platform for the panels.
Electrical Wiring
This is where the electrical connections are made.
- Series and Parallel Connections: Panels are wired together in strings. A series connection increases voltage, while a parallel connection increases current.
- Connecting to the Inverter: The DC wiring from the solar panel strings is connected to the inverter.
- AC Wiring: The inverter’s output is wired to the main electrical panel of the building.
Final Inspection & Commissioning of Solar Power Plant
A certified inspector performs a final inspection. Once they approve the system, they turn it on, allowing you to track energy generation and usage through the inverter’s display or a monitoring app.
Comparative Table: Types of Solar Systems
| Feature | On-Grid (Grid-Tied) System | Off-Grid System | Hybrid System |
| Grid Connection | Connected to the utility grid. | Not connected to the utility grid. | Connected to the utility grid with battery backup. |
| Components | Solar panels, inverter, mounting structure, wiring. | Solar panels, inverter, mounting structure, batteries, charge controller. | Solar panels, inverter, mounting structure, batteries, wiring. |
| Energy Storage | No battery storage. Excess energy is sent to the grid. | Requires batteries for energy storage. | Includes battery storage for backup and self-consumption. |
| Cost | Generally less expensive due to fewer components. | More expensive due to the cost of batteries and charge controller. | Most expensive, combining grid connectivity and battery storage. |
| Ideal For | Urban/suburban areas with reliable grid access. | Remote locations without grid access. | Areas with frequent power outages or for complete energy independence. |
Conclusion
A solar power plant installation is a significant investment that provides long-term financial and environmental benefits. By following this step-by-step guide, you can ensure a smooth and efficient process, from initial planning to the moment you start generating your own clean, renewable energy. With careful preparation and the right team, you can take a big step towards a more sustainable and independent future.
FAQ Section
Q1: How long does a typical solar power plant installation take?
The installation timeline can vary. The physical installation for a residential system typically takes 1 to 3 days. However, the entire process, including permitting and inspections, can take several weeks to a few months.
Q2: Can I install a solar power plant myself?
While some DIY kits are available, it’s highly recommended to hire a certified professional for a solar power plant installation. They can safely and efficiently install the system, ensuring it complies with all local codes and regulations while also handling the complex permitting process.
Q3: What is the lifespan of a solar power plant?
Most solar panels are designed to last for 25 to 30 years or more. While they will still produce power after this period, their efficiency may slightly decrease. Inverters and other components may need to be replaced sooner, typically after 10-15 years.
Q4: How much space do I need for a solar power plant?
The required space depends on your energy needs and the efficiency of the panels. A general rule of thumb for a residential system is about 100 square feet of roof space for every 1 kilowatt of a system’s capacity.
Q5: What is net metering?
Net metering is a billing system that allows solar owners to send excess electricity generated by their panels back to the grid. In exchange, they receive credits on their utility bill, which they can use to offset the cost of electricity they draw from the grid at night or on cloudy days.
